


Convert a Logo for Husqvarna Viking Embroidery: Easy Guide
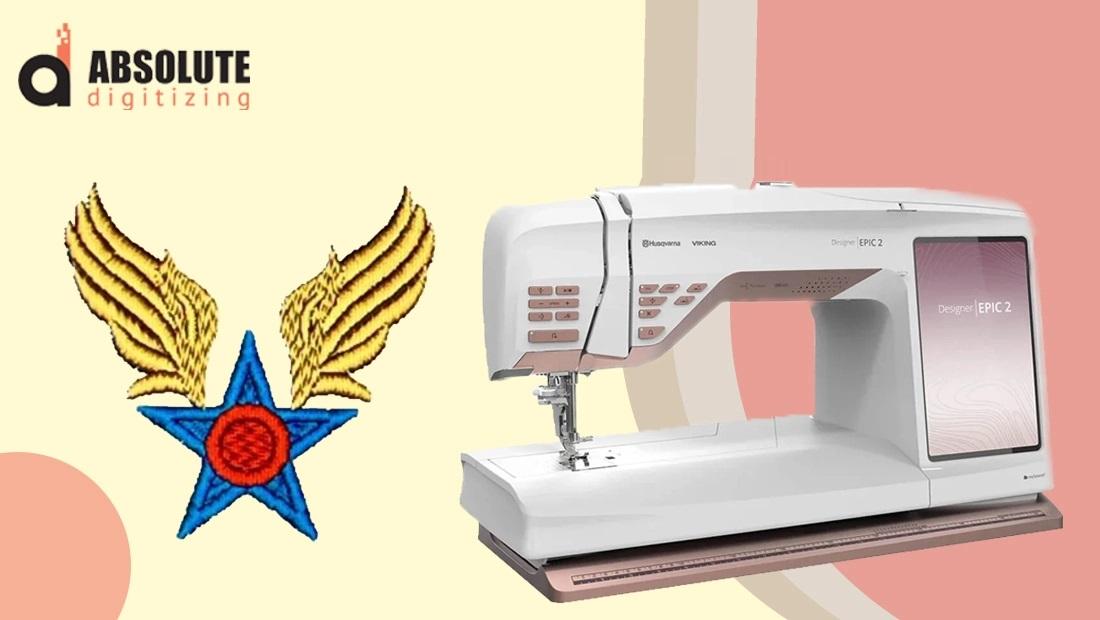
A business logo can look perfect on a website, business card, or social media page. But when you want that same logo stitched onto a shirt, cap, jacket, or bag, things change.
An embroidery machine does not read a regular JPG, PNG, or PDF like a normal image viewer. It needs a specially digitized embroidery file containing instructions for every stitch.
If you want to convert a logo for Husqvarna Viking embroidery, the artwork needs to be prepared and digitized in a format that your Husqvarna Viking machine can use. The process involves much more than changing the file extension. Stitch types, density, thread colors, design size, and stitch sequence all matter.
In this guide, you will learn how the process works, which factors affect the final result, and how to prepare your logo for clean machine embroidery.
What Does It Mean to Convert a Logo for Husqvarna Viking Embroidery?
Converting a logo for embroidery means transforming ordinary artwork into a machine-readable embroidery design.
A regular logo might be saved as:
- JPG
- PNG
- SVG
- AI
- EPS
These files describe an image, but an embroidery machine needs stitch instructions.
During digitizing, the logo is broken into sections and converted into embroidery elements. The finished file tells the machine where to stitch, which direction to stitch, when to change thread colors, and when to move between different areas.
Think of it like turning a picture into a sewing map. The original logo is the picture, while the embroidery file is the set of directions that guides the machine.
Which Embroidery File Formats Does Husqvarna Viking Use?
Husqvarna Viking embroidery machines can use embroidery formats designed for their compatible systems. HUS is a well-known format associated with Husqvarna Viking embroidery.
Depending on the specific machine model and software workflow, other formats may also be supported.
Before converting a logo, always check your machine's manual or specifications to confirm the required format.
Using the wrong file format can result in a design that your machine cannot open or interpret correctly.
How to Convert a Logo for Husqvarna Viking Embroidery
The conversion process usually involves several stages. Each stage affects how the final design will look when stitched.
1. Start With High-Quality Artwork
The better your original logo, the easier it is to create a clean embroidery design.
A sharp vector logo is often useful because its shapes and outlines are easier to identify. However, high-resolution raster artwork can also work well.
Avoid using a tiny, blurry screenshot if a better version of the logo is available.
2. Remove Unnecessary Details
Not every detail in a digital logo needs to appear in embroidery.
For example, a logo may contain:
- Very thin lines
- Tiny text
- Complex shadows
- Small decorative elements
- Color gradients
Some of these details may need to be simplified.
Embroidery thread has physical limits. A detail that looks great on a large computer screen may disappear when stitched at a small size.
3. Set the Correct Embroidery Size
Design size is extremely important.
Suppose a logo contains small lettering and is originally designed for a large banner. If you reduce it to a small chest logo, the lettering may become too tiny to stitch clearly.
A professional digitizer may need to adjust or rebuild certain sections instead of simply shrinking the entire design.
Always provide the exact width and height you need before the logo is digitized.
Choosing the Right Stitch Types
Different parts of a logo require different stitch structures.
Satin Stitches
Satin stitches are commonly used for borders, narrow shapes, and lettering. They can create a smooth, slightly raised appearance.
Fill Stitches
Fill stitches cover larger areas. They are useful when a logo contains broad shapes or solid sections.
Running Stitches
Running stitches are useful for thin outlines, fine details, and narrow design elements.
The correct stitch choice depends on the size, shape, and fabric of the logo.
Why Stitch Density Matters
Stitch density describes how closely stitches are placed together.
Too little density can create gaps and poor coverage. Too much density can make the embroidery heavy and may increase the risk of puckering or thread breaks.
The goal is balanced coverage.
A skilled digitizer considers the fabric, thread, design size, and stitch type when deciding how much density is appropriate.
Add the Right Underlay
Underlay stitches are placed beneath the main embroidery.
They create a foundation that can help support the visible stitches and stabilize the fabric.
Different materials require different approaches. A lightweight shirt, heavy jacket, and cap may all need different underlay settings.
This is another reason why simply using an automatic logo converter may not always produce the best result.
Plan the Stitch Direction
Stitch direction affects the texture and appearance of embroidery.
For example, one section of a logo might use horizontal stitches while another uses a different direction. This can create visual separation and change how the thread reflects light.
Proper stitch direction can make a flat logo look more polished after stitching.
Set the Stitch Sequence
The embroidery machine needs to know the order in which different sections should be sewn.
A good stitch sequence can:
- Reduce unnecessary jumps
- Minimize trims
- Improve registration
- Reduce thread changes
- Help maintain the shape of the design
Poor sequencing can make production slower and may affect the final appearance.
Convert a Logo for Husqvarna Viking Embroidery Based on Fabric
The same logo does not always behave the same way on every fabric.
T-Shirts
Stretchy T-shirt material may move during stitching. Proper stabilization and suitable digitizing settings are important.
Caps
Caps have curved surfaces, which makes placement and stitch direction especially important.
Jackets
Jackets can use thicker materials and may require different stabilization and density settings.
Towels
Towels have a textured surface that can cover small details. Larger lettering and suitable stitch structures may produce better results.
Before converting your logo, tell the digitizer what type of material you plan to use.
Can You Convert JPG or PNG Directly to HUS?
A JPG or PNG can be used as the source artwork for creating an HUS embroidery file, but it is not normally a matter of simply changing the extension.
For example:
JPG logo → Artwork preparation → Embroidery digitizing → Stitch editing → HUS file
The digitizing stage is what turns the visual artwork into actual embroidery instructions.
An image converter that only changes file types cannot automatically understand the best stitch structure for every logo.
Automatic Logo Conversion vs. Professional Digitizing
There are two common approaches to logo conversion.
Automatic Conversion
Automatic tools can be convenient for simple artwork. They may analyze colors and shapes and generate an embroidery file.
However, the result may need manual corrections.
Common issues include:
- Poor stitch direction
- Incorrect density
- Weak small lettering
- Unnecessary stitches
- Poor sequencing
- Too many color changes
- Bad coverage
Professional Digitizing
Professional digitizing gives more control over how the design will actually stitch.
The digitizer can make decisions based on the design, fabric, size, and intended application.
For important business logos or bulk production, this approach can provide more predictable results.
Common Problems When Converting Logos
Even a visually simple logo can create embroidery problems if it is not prepared correctly.
Thread Breaks
Frequent thread breaks can be associated with excessive density, unsuitable stitch paths, tension issues, needle problems, or other production factors.
Puckering
Puckering occurs when fabric gathers around the embroidery. Design density, stabilization, fabric movement, and construction can all contribute.
Small Text Becomes Unreadable
Small lettering is one of the hardest parts of logo embroidery.
If the letters are too small, they may lose their shape or become difficult to read.
Uneven Stitch Coverage
Incorrect density or stitch planning can make some parts of the logo appear thin while other areas look too heavy.
Excessive Jump Stitches
Poorly planned stitch paths may create unnecessary jumps. Better sequencing can reduce these movements.
Tips for Preparing Your Logo
Before sending your artwork for embroidery digitizing, follow these simple tips:
- Provide the best-quality logo available.
- Tell the digitizer the exact finished size.
- Mention the fabric or garment type.
- Provide preferred thread colors if you have them.
- Tell them which Husqvarna Viking machine you are using.
- Identify where the logo will be embroidered.
- Request a test stitch-out for important projects.
The more useful information you provide, the easier it is to create a design suited to your actual project.
Test Your Embroidery Design Before Production
A computer preview is helpful, but it cannot always predict what will happen on real fabric.
A test stitch-out allows you to check:
- Letter readability
- Thread coverage
- Fabric stability
- Color appearance
- Design alignment
- Stitch quality
- Overall size
For a business logo, testing before a large order can help prevent costly mistakes.
Choosing a Logo Digitizing Service
If you do not have experience with embroidery digitizing, hiring a professional service can save time.
When choosing a service, consider whether they understand:
- Machine embroidery
- HUS and other embroidery formats
- Stitch density
- Underlay
- Stitch sequencing
- Small lettering
- Different fabrics
- Design resizing
- Test stitching
Absolute Digitizing can help businesses and embroiderers prepare logos as machine-ready embroidery designs with attention to the practical requirements of stitching.
Why Professional Logo Digitizing Is Worth It
It can be tempting to choose the quickest automatic conversion option, especially for a simple logo.
But embroidery is physical. The thread, needle, fabric, stabilizer, and machine all interact with the design.
Professional digitizing takes these factors into account.
A properly prepared design can help produce cleaner edges, more readable lettering, better coverage, and a more professional finished appearance.
Frequently Asked Questions
1. How do I convert a logo for Husqvarna Viking embroidery?
Start with quality artwork, prepare the design for embroidery, digitize each section using suitable stitch types, adjust density and underlay, set the stitch sequence, and export the finished design in the format supported by your machine.
2. What format is commonly associated with Husqvarna Viking embroidery?
HUS is a well-known embroidery format associated with Husqvarna Viking machines. However, supported formats can vary by machine model, so check your machine's documentation before creating the final file.
3. Can I use a JPG logo for Husqvarna Viking embroidery?
Yes. A JPG can be used as source artwork, but it needs to be digitized into stitches before it can function as an embroidery design.
4. Why does my logo look different after embroidery?
Embroidery uses physical thread instead of pixels. Small details, gradients, thin lines, and tiny text may need to be simplified or redesigned to produce a clear stitched result.
5. Should I test my logo before bulk embroidery?
Yes. A test stitch-out is recommended for important projects. It can reveal problems with sizing, density, lettering, colors, stabilization, or stitch coverage before full production.
Conclusion
Learning how to convert a logo for Husqvarna Viking embroidery is about much more than changing a JPG or PNG into an embroidery file.
The artwork must be translated into stitches with the right density, direction, underlay, sequence, colors, and dimensions. The fabric and final application also need to be considered.
For simple designs, automated tools can be useful for experimentation. For detailed logos, small lettering, branded clothing, or bulk orders, professional digitizing can provide much better control over the final result.
Start with clean artwork, choose the correct embroidery format, provide accurate project details, and test the design before production. These simple steps can make a big difference in the quality of your finished embroidery.

 English
 Arabic
 French
 Spanish
 Portuguese
 Deutsch
 Turkish
 Dutch
Dutch
 Russian
 Romaian
 Portuguese (Brazil)
 Greek
Greek