Have you ever looked at an embroidered logo and wondered how a simple picture turns into hundreds or thousands of stitches? That process is called embroidery digitizing.
Understanding embroidery digitizing is important for anyone who wants clean, professional embroidery. A machine cannot simply read a JPG, PNG, or ordinary image and know where to stitch. The artwork must first be converted into a digital embroidery design with instructions for stitch placement, direction, density, colors, and other details.
Think of digitizing like creating a roadmap for an embroidery machine. The better the roadmap, the more accurately the machine can reproduce the original artwork on fabric.
Whether you are a business owner, clothing designer, embroiderer, or someone ordering custom embroidered products, learning the basics can help you make better decisions and avoid common embroidery problems.
What Is Embroidery Digitizing?
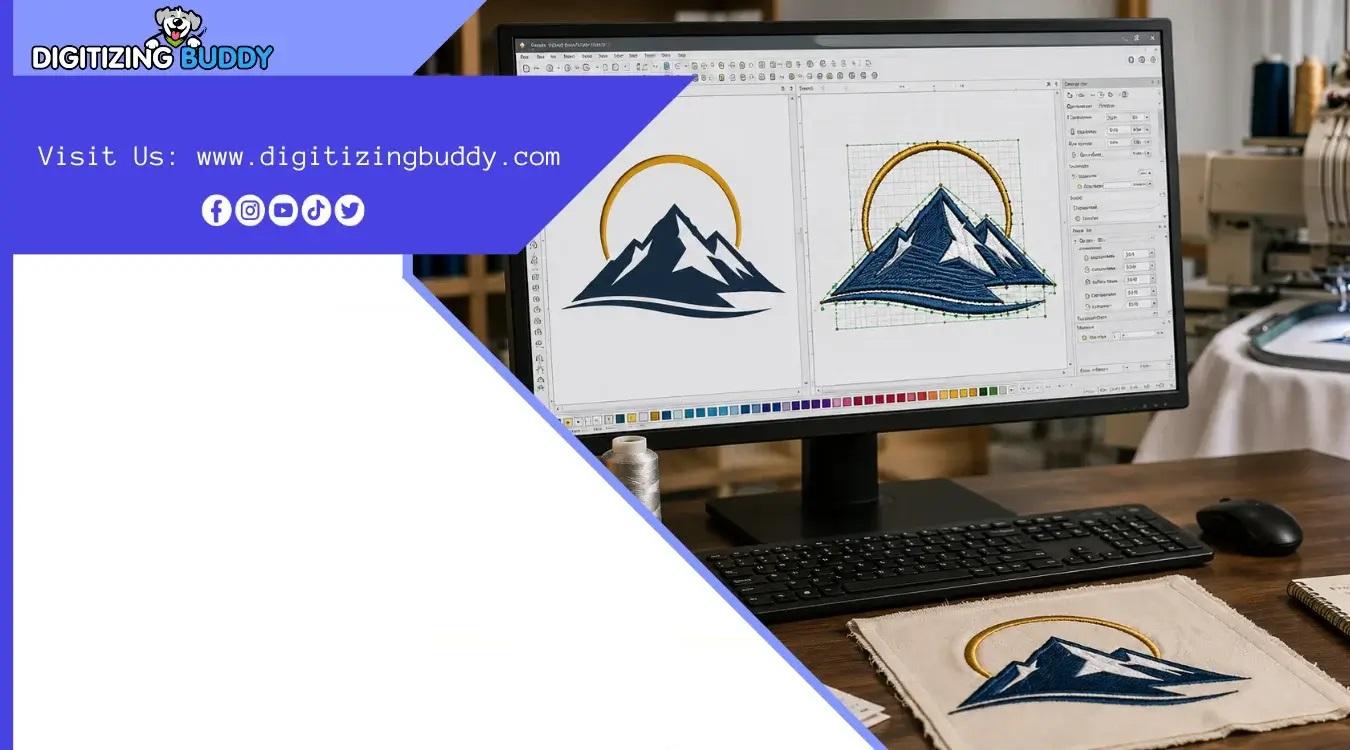
Embroidery digitizing is the process of converting artwork, logos, text, or images into a machine-readable embroidery file.
During this process, a digitizer decides how different parts of the design should be stitched. The finished file tells the embroidery machine things such as:
- Where to start and stop stitching
- Which stitch type to use
- The direction of stitches
- Stitch density
- Thread color changes
- Underlay placement
- Travel paths between design elements
- Where trims or jumps may be needed
The goal is not simply to convert an image into stitches. Professional digitizing requires decisions based on the artwork, fabric, thread, hoop size, and final application.
How Does Embroidery Digitizing Work?
The process may look complicated at first, but it becomes easier when broken into individual steps.
1. Prepare the Artwork
The first step is to examine the original artwork. A clean, high-resolution logo or vector graphic usually makes the job easier.
The digitizer looks at:
- Shapes
- Colors
- Fine details
- Text
- Outlines
- Small elements
- Overall dimensions
Some artwork may need cleaning or editing before it can be digitized properly.
2. Choose the Right Stitch Types
Different parts of a design require different stitch techniques.
Common machine embroidery stitch types include:
Satin stitch:
Often used for borders, lettering, and narrow shapes. It creates a smooth and slightly raised appearance.
Fill stitch:
Used to cover larger areas with rows of stitches.
Running stitch:
Useful for outlines, fine details, and thin lines.
Choosing the correct stitch type can make a major difference in the final appearance.
3. Set Stitch Direction
Stitch direction affects how light reflects from embroidered thread.
For example, two areas using the same thread color can look different when their stitch directions change. Professional digitizers use this effect to create visual separation and improve the overall appearance of a design.
4. Add Underlay Stitches
Underlay is a foundation layer placed underneath the visible stitches.
It helps stabilize the fabric and provides support for the top stitching. Proper underlay can reduce problems such as fabric showing through, shifting, or poor stitch coverage.
The amount and type of underlay depend on factors such as fabric type, design size, and stitch density.
5. Adjust Stitch Density
Stitch density refers to how closely stitches are placed together.
Too few stitches may leave gaps and produce weak coverage. Too many stitches can make the design unnecessarily heavy and may cause thread breaks, puckering, or excessive stiffness.
Good digitizing aims for the right balance rather than simply adding more stitches.
6. Plan the Stitch Sequence
The order in which different sections are embroidered matters.
A thoughtful stitch sequence can reduce unnecessary jumps, trims, and thread changes. It can also help prevent distortion and keep the design looking neat.
7. Save in the Correct Embroidery Format
Once the design is complete, it needs to be saved in a format compatible with the intended embroidery machine.
Common embroidery file formats include:
- DST
- PES
- JEF
- EXP
- VP3
- HUS
- XXX
The correct format depends on the embroidery machine being used.
Why Is Embroidery Digitizing Important?
A beautiful piece of artwork does not automatically make a good embroidery design.
Embroidery uses physical materials. Thread interacts with fabric, needles create holes, and stitches pull against each other. Because of this, artwork must be adapted for embroidery rather than simply copied.
Professional digitizing helps achieve:
- Cleaner lettering
- Better stitch coverage
- Smooth curves
- Stronger outlines
- Fewer thread breaks
- Reduced puckering
- Better fabric stability
- More accurate colors
- A cleaner finished appearance
This is especially important for business logos and branding because poor embroidery can make even a professional logo look messy.
Understanding Embroidery Digitizing for Different Fabrics
One of the most important lessons in understanding embroidery digitizing is that the same design may need different settings for different fabrics.
A design stitched on a stable cap can behave differently from the same design stitched on a soft T-shirt.
Cotton
Cotton is commonly used for shirts, uniforms, and promotional clothing. Depending on its weight and stability, it may require suitable underlay and density settings.
Caps
Caps have curved surfaces, making them more challenging to embroider. Stitch direction, sequencing, center placement, and design width become particularly important.
Jackets
Jackets can use heavier materials and may require careful planning for both small logos and large back designs.
Stretch Fabrics
Stretchy materials can move during embroidery. Proper stabilization and digitizing adjustments are important to help maintain the design's shape.
Common Embroidery Digitizing Problems
Even a good-looking design can produce problems when it is not digitized correctly.
Thread Breaks
Frequent thread breaks may result from excessive density, unsuitable settings, difficult stitch paths, or other machine-related factors.
Puckering
Puckering happens when fabric becomes gathered or distorted around the embroidery. Stabilization, stitch density, underlay, and design construction can all play a role.
Poor Small Text
Tiny lettering is one of the biggest challenges in machine embroidery. Letters that look perfect on a computer screen may become difficult to read after stitching.
Small text needs appropriate sizing, stitch selection, spacing, and careful digitizing.
Too Many Jump Stitches
Poorly planned stitch paths can create unnecessary jumps and trims. Better sequencing can make production cleaner and more efficient.
Uneven Coverage
If stitch density or stitch direction is not properly planned, some areas may appear thin while others look overly heavy.
Embroidery Digitizing vs. Image Conversion
These two terms are sometimes confused.
Image conversion generally refers to changing a file from one digital format to another. For example, converting one image format into another does not automatically create usable embroidery instructions.
Embroidery digitizing, on the other hand, involves creating actual stitch information that an embroidery machine can follow.
For example, changing a PNG into another image format does not make it an embroidery design. The artwork still needs to be professionally digitized.
What Makes a Good Embroidery Design?
A quality embroidery file should be created with the final product in mind.
A professional digitizer considers:
- Artwork quality – Is the original design clear?
- Fabric type – Is the material stable, stretchy, thick, or textured?
- Design size – Will the details remain visible at the requested size?
- Stitch type – Is each area using the appropriate stitch?
- Density – Is there enough coverage without unnecessary stitches?
- Underlay – Does the design have enough foundation?
- Stitch sequence – Is the sewing order efficient?
- Machine format – Is the final file compatible with the machine?
- Testing – Has the design been checked through stitching?
These factors work together. Changing one setting can sometimes affect several other parts of the design.
Tips for Better Embroidery Digitizing
If you create or order embroidery files regularly, a few simple practices can save time and money.
Start With Quality Artwork
Whenever possible, provide a clean logo or high-quality image. Clear artwork gives the digitizer a better foundation.
Tell the Digitizer the Final Size
A design intended for a small chest logo needs different treatment from a large jacket-back design.
Always provide the desired dimensions.
Mention the Fabric
Tell your digitizer whether the design will be stitched on cotton, denim, caps, jackets, performance fabric, or another material.
Avoid Extremely Small Details
Tiny details may disappear during stitching. If a small feature is important, consider simplifying or enlarging it.
Test Before Bulk Production
A sample stitch-out can reveal issues that are not obvious on a computer screen.
For large orders, testing the design first can prevent expensive production mistakes.
Choosing a Professional Embroidery Digitizing Service
If you do not have the time or experience to digitize designs yourself, working with a professional service can be a practical option.
When evaluating a service, look for:
- Experience with different fabrics
- Knowledge of machine embroidery techniques
- Proper stitch planning
- Clear communication
- Multiple file format options
- Quality control
- Revision support
- Reasonable turnaround times
At Digitizing Buddy, the focus should be on creating embroidery files that are prepared for real-world stitching rather than simply converting artwork into a file extension.
Understanding Embroidery Digitizing for Businesses
Businesses often use embroidery for uniforms, workwear, caps, jackets, bags, and promotional products.
A well-digitized logo can create a polished and consistent brand appearance across different garments.
For example, a company logo may need to be prepared differently for a small left-chest application and a large jacket-back design. Simply resizing the same file may not always produce the best result.
This is why professional embroidery digitizing becomes particularly valuable for businesses producing multiple products.
How to Prepare Artwork for Digitizing
Before sending artwork for embroidery digitizing, check the following:
- Use the clearest version of your logo.
- Provide the preferred thread colors if known.
- Mention the final embroidery size.
- Tell the digitizer what fabric you are using.
- Explain where the design will be placed.
- Mention the embroidery machine or required file format.
- Request a sample if the project is large.
Providing these details early can reduce revisions and improve the final result.
Final Thoughts on Understanding Embroidery Digitizing
Understanding embroidery digitizing becomes much easier when you think of it as translating artwork into a language that an embroidery machine understands.
The process involves much more than changing an image into a file. Stitch types, density, underlay, direction, sequencing, fabric behavior, and design size all influence the finished embroidery.
Whether you are creating a personal project or preparing branded clothing for a business, good digitizing can make the difference between an embroidery design that looks ordinary and one that looks clean, sharp, and professional.
The best approach is simple: start with quality artwork, provide accurate project details, choose suitable embroidery settings, and test important designs before full production.
FAQs About Understanding Embroidery Digitizing
1. What is embroidery digitizing?
Embroidery digitizing is the process of converting artwork, logos, or text into a machine-readable file containing instructions for stitches, colors, sequencing, and other embroidery details.
2. Can any image be used for embroidery digitizing?
Most images can be used as a starting point, but complex or low-quality artwork may need editing or simplification before it can produce a good embroidery design.
3. What is the best embroidery file format?
There is no single best format for every machine. The correct format depends on the embroidery machine. DST, PES, JEF, EXP, VP3, and other formats are used by different systems.
4. Why does embroidery need underlay?
Underlay provides a foundation beneath the visible stitches. It can improve stability, coverage, and the overall appearance of the embroidery.
5. How can I get better embroidery results?
Use quality artwork, provide the correct design size and fabric information, use appropriate digitizing settings, and test the design before large-scale production.
In short, good embroidery starts before the needle ever touches the fabric. Understanding the digitizing process helps you create designs that stitch more cleanly, perform better, and look professional.



 Portuguese
 English
 Arabic
 French
 Spanish
 Deutsch
 Turkish
 Dutch
Dutch
 Italiano
 Russian
 Romaian
 Portuguese (Brazil)
 Greek
Greek